0
0
 0
0
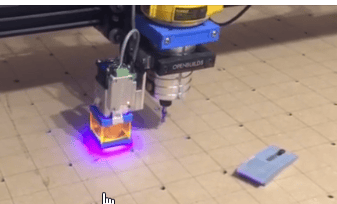
I have an optlaser attached to a workbee with a duet2 controller, by default this is not a listed option within the popular lightburn software LightBurn Software
This is how to set it up, and was based on this video Facebook
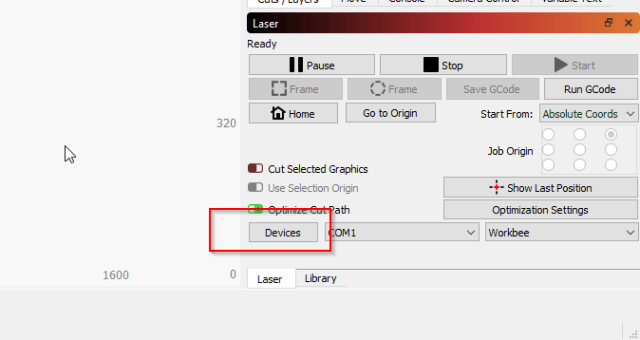
You start by installing a new device, for first time users the software will mandate this anyway, if you have setup one already then you can get to the same option by using the devices button on the bottom right
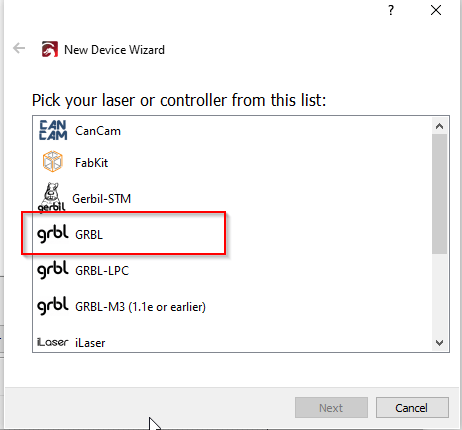
You set the device up as GRBL
and leave it as USB (although we do not use that for the duet2)
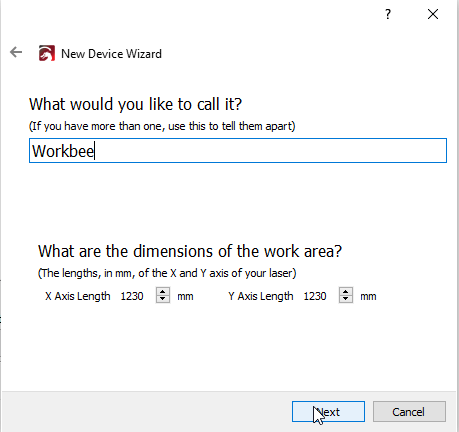
You then give it a name and a size, the values I use are for a 1.5mx1.5m workbee and allow for the laser mount
You then setup home as front left
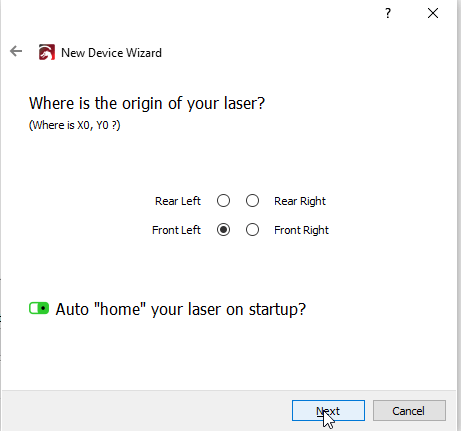
and that’s the main bits
Your workbee will now be in the devices menu
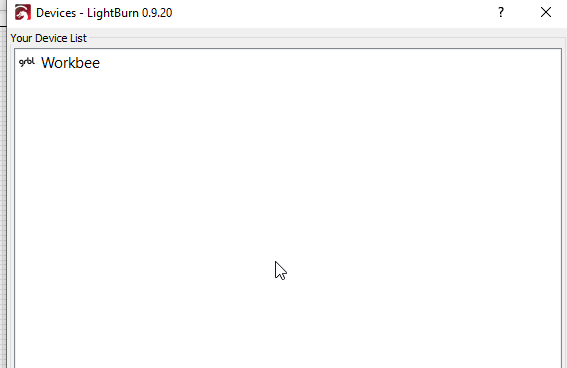
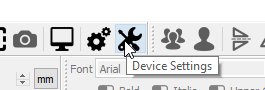
Now you need to edit the machine
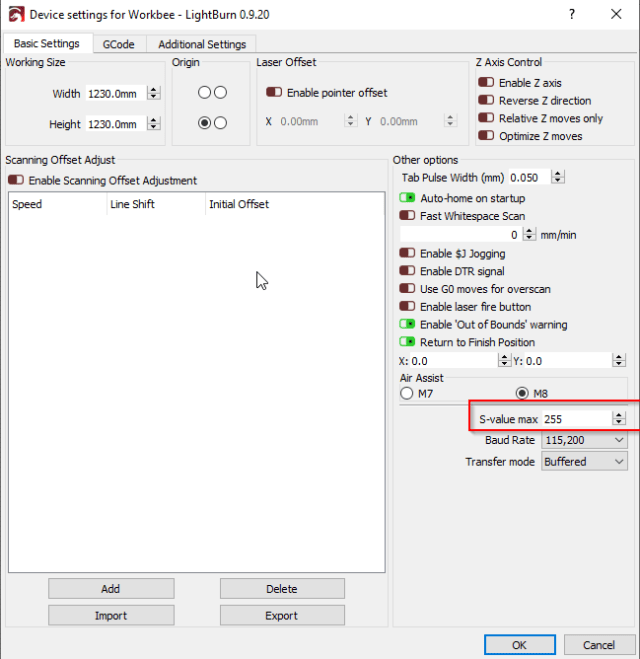
The main setting here you need to make sure you set is the maximum S (power) value. The duet uses an GPIO pin for this so the range is 0-255.
You then go to the gcode tab and setup some things specific to the duet, these came from the optlaser software settings should you have installed that.
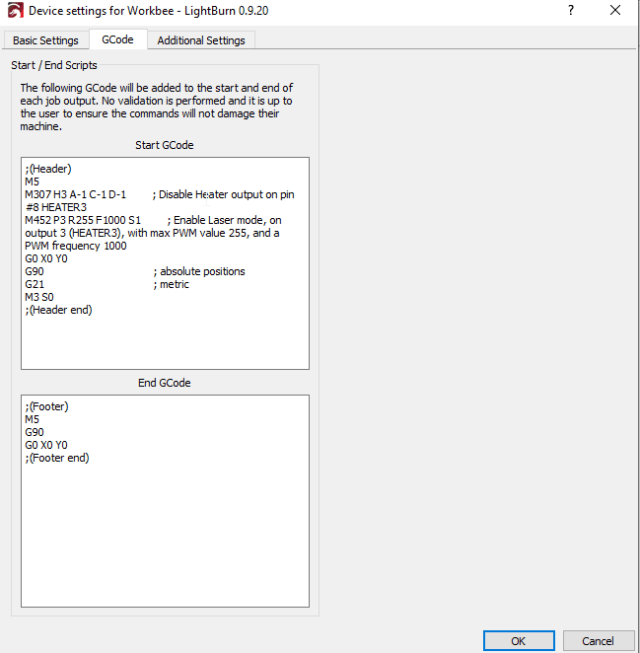
;(Header)
M5
M307 H3 A-1 C-1 D-1         ; Disable Heater output on pin #8 HEATER3
M452 P3 R255 F1000 S1         ; Enable Laser mode, on output 3 (HEATER3), with max PWM value 255, and a PWM frequency 1000
G0 X0 Y0
G90                                     ; absolute positions
G21                                     ; metric
M3 S0
;(Header end)
;(Footer)
M5
G90
G0 X0 Y0
;(Footer end)
It should be noted that in my setup I am using the pin on heater 3 which is not the pin suggested by the opt laser instructions. I have done this since I am using their suggested pin for other things and so you will need to change the above to what you use.
A link to a list of all GPIO pins and their codes can be found on my post here Adding a relay to a Duet 2 to switch on a router via gcode – Coding Blog (galcomp.net)
And that is the setup, the only thing you need to be aware of now is that the work position 1 on the duet should be set to the bottom left of your laser work area, if you don’t do this you will probably get an out of machine area error when you run the job
When you are ready to produce a job you just use the save Gcode button and save the file, then upload this to the duet’s jobs folder
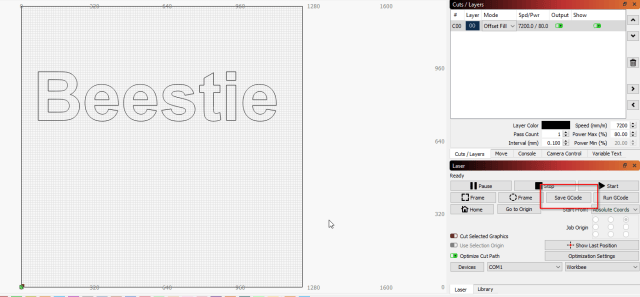
One final thing to note is that you need a specific version of firmware on the duet board, 2.05.1 or later
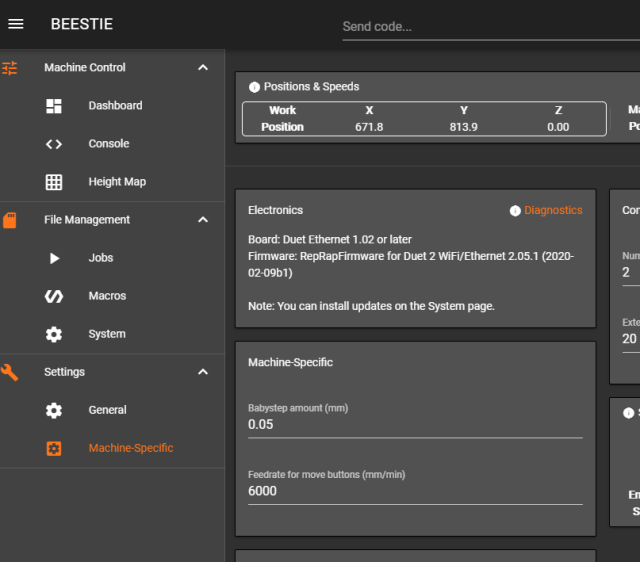
This is the firmware that allows the power (s) value to be sticky, it it stays set until it’s changed by the software not at each statement in the gcode.
You can update the duet board by following the instructions on the duet site.